Showing posts with label Crafting. Show all posts

Tuesday, 25 March 2014

For the love of Lino

 
I'm interrupting my PL posts to talk about my recent discovery of Lino printing.  Yes, Lino . So many possibilities! I started a Lino Printing Pinterest board and it's not even touching the tip of the iceberg of the many ideas out there. (The leaf seen here was inspired by tags I saw on my Pinterest board).

How did it start? (Not Lino printing, just my very short history with Lino) I had the pleasure of spending a morning in an artist friend's studio, learning from her. She did art school and knew quite a bit about Lino printing. Unfortunately I didn't take my camera, and only took this picture afterwards.

Here's what I learned in a morning:

- Tools matter: Get proper Lino cutting tools in stead of cheaper woodcutting tools (another friend   brought along these and you couldn't use them on Lino).
- The real Lino (brownish with a hessian backing) is easier to use than the cheaper grey version. But the cheap one worked ok enough. (Ours came from Herbert and Evans in Jo'burg).
- If you work with the grey Lino, work on the shiny side.
-  Sharp tools make a huge difference. Sharpen them by putting a few drops of oil on fine sandpaper, and gently "colour" over it with the tool.
- You need tracing paper to copy your design. Trace the design, place face down on Lino and trace. Detailed sections can just be coloured over and the picture will still transfer onto the Lino.
- Remember that you'll have a reverse copy of your image on the Lino. Sometimes this matters, sometimes it doesn't.
- Decide where you want colour and where not before you carve. Eg. The outline can be in colour (and the rest carved out), or it can be carved away and the rest in colour.
- You can make your image in more than one colour by
(a) printing, carving away more, printing in another colour and so forth. (This is tricky as your print has to be done in exactly the same place every time. You can set pins as guidelines to do this. Use cellotape to ensure that the pinholes don't get bigger) or
(b) making two separate stamps, one with the outline and one with a colour area.
- Work carefully, error lines will show.
- First go around your outline with the knifelike tool. Carve out big areas with the rounded tool. Carve deep enough and always away from yourself. Work from your outline outwards.
- To print: Put some paint (eg oilpaint) onto a piece of glass. Use a roller to apply it to evenly to your completed stamp. Paint should not be too thick, or it will run.
- Place paper over your stamp and rub hard and repeatedly with the round part of a dessertspoon. This ensures a solid colour.
- Enjoy your artwork.

Still no expert, not even close, but I'm thinking of getting kitted out for some more Lino experiments. Until then I'll make some eraser stamps just for fun.

Thursday, 6 June 2013

Looming possibilities

We recently completed this Wall Hanging, and I love it! And when I say "we", I mean that I had two little helpers who was comfortably managing the weaving process, that's how easy it was. I love that it was made by all our hands.
It started with me seeing this gorgeous woven wall hanging on Elise's blog. It had a link to Rachel's blog explaining the process.

Instead of a drawer I used an old picture frame that happened to be the perfect size. It will also be the perfect size to make this rag rug placemat, which I badly want to try. I think it can also work great as a tray mat. DH was kind enough to put all the pins into the frame (so he also helped making it) and put the string around each pin. But I think it's easy enough to do yourself. I didn't read Rachel's instuctions well enough and started weaving a few centimeters from the frame. Make sure you start directly next to the frame, as this will be the top side. I was able to move the entire weaved piece up to the frame, but best to just start right. Initially I cut a long piece of yarn, and weaved it through by hand, but then remembered something I saw somewhere, an easier way:
Roll the wool around a pen (the end of the wool can be slipped under the pen's "arm"). It is then very easy and quick to weave the pen through the treads, or pass the pen from one hand to the other, either side of the string, you'll find what works for you. This is my six year old's little hands doing the weaving. I was amazed at how much they loved participating. Don't worry about a little mistake here and there, it mostly dissapears, or give character. I also found than mine hourglassed a lot, in spite of trying to avoid this. I think you have to weave it really loose for this not to happen. But once I took it off the loom it hung quite straight, as you can see in the top picture. I used a sosatie stick to hang it from and tied my loose ends at the back two by two.

When I started it, I told Reuben I'm making it for his room. Regret that a bit, as I really love it somewhere else in the house. So don't promise it to anyone before you've finished it!

Tuesday, 12 February 2013

I do have other hobbies too.

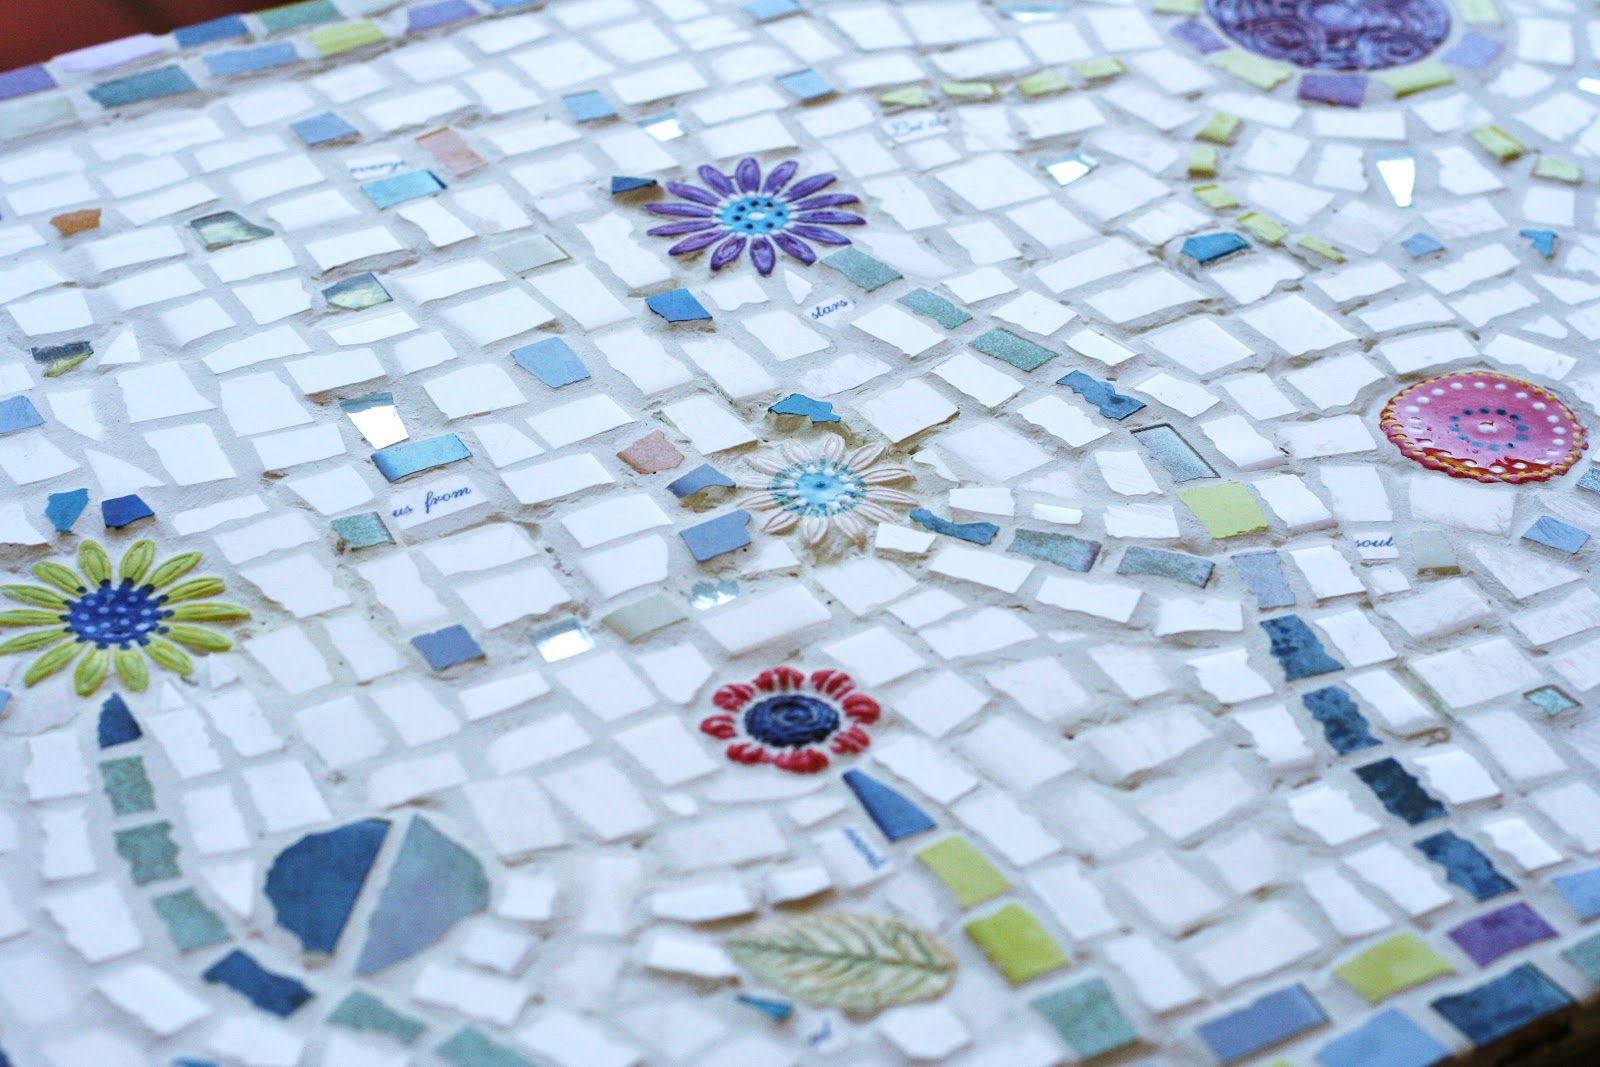
Apart from my absolute passion for Project Life, I do have other (somewhat neglected) hobbies too. One of them is Mosaic. I haven't been doing it for a very long time, so I'm not that good at it - but I rather like the rugged look. It's something I really enjoy- mosaics. I think it's the element of play and really making something with your hands. I even enjoy the grouting and cutting tiles.

This little table has been a work in progress since last year. It stood around 90% finished for about two months. But at last I can call it done! As far as I'm concerned - my husband might still add some wheels and a dishtowel rail to make a handy little braai table out of it.

There it is, full of sunshine and happiness. Love that this little table has been in my family for years..it once served in my grandmother's kitchen, then for long it was tucked away forgotten, and now it has found a new purpose, and look to go with it.


Wednesday, 19 October 2011

Paint on...

I recently (via pinterest) discovered a great site for art inspiration for kids. Link here: http://www.deepspacesparkle.com/2011/06/the-years-best-art-lessons/?utm_source=feedburner&utm_medium=feed&utm_campaign=Feed:%20DeepSpaceSparkle%20(Deep%20Space%20Sparkle)

So yesterday we tried one of the projects. The idea is to divide your page into blocks and paint varius sized circles and rings in the three primary colours, and then experience colour mixing as you go. I painted along, hehe. But as you can see below it was Liam's artwork that is oozing with creativity and expressive confidence. He also had the trait of a real artist to know when to stop and call it good!


  I just felt so thankful for how colourful my life became since becoming a SAH Mom. My wardrobe became so much more colourful (I used to wear a lot of black back in my boardroom days), the washingline is an explosion of colourful kids clothes, painted projects everywhere, new colourful (in the best way) friends...

Ps: You can check out Ali's Thankful thought series here:
A great way to document the things you're thankful for.

And talking about paint, this is truly just awesome:

Wishing you a colourful, gratitude filled day!


Friday, 30 September 2011

Friends | crayons | t-shirts.

Today, for the first time, Reuben had a playdate at home with his best friend from school. They were both so counting the days for this. It was wondeful to observe Reuben as a friend. He makes a great and confident friend. There's something so warm and solid about him.

They did some swimming, ate mac&cheese, and pudding. And we decorated t-shirts. I found this idea via Pinterest http://pinterest.com/pin/169148464/ and decided to try it. The boys drew their pictures on fine sandpaper (using normal crayons).


We (actually our domestic help) then ironed it face down onto the front of each one's T-shirt. Ironed the transfered picture again with a cloth over. We were all very impressed (another pun not intended) with the end result.


I also tried to save a t-shirt gone pink by drawing a robot picture (inspired by the wonderful drawing book by Taro Gomi called "Scribbles") and transferring the image the same way.


And speaking of drawing, I recently purchased a sketchbook (because it was cheap, not because I had any ideas for it.) I was inspired by this illustration on Pinterest: http://pinterest.com/pin/157137729/  to sketch some of my summer clothes.


Cool life documenting.

Friday, 16 September 2011

Crafting | Handprint animals.

This week the Kids tried their hands - no pun intended- at making animals out of hand (and foot)prints.

We did some in December last year, making the dearest reindeer with pipecleaner horns (not sure now where we got the idea from).


This time, inspired by Pinterest http://www.busybeekidscrafts.com/Hand-Print-Elephant.html we made a crayfish, giraffe and elephant.


Easy peasy and very pretty. Also inspired by Pinterest http://jengrantmorris.blogspot.com/2008/08/artwork-in-boys-room.html, I'm planning to have a selection of their artwork scanned, shrunk and framed together.

And then I must also post this very sweet picture of our family by my 6 year old. We're all there, even Zoe the Cocker Spaniel!

Tuesday, 6 September 2011

A little crafting | Painted stones


So here is the first result of my intention to actually DO more crafts iso just collecting tons of ideas. (I can see how blogging can be a great way of keeping one to this sort of "commitment").

I saw this idea on Pinterest. Beautifully painted by Geninne http://www.flickr.com/photos/23022617@N00/5079241778/

and tried it on some garden pebbles. Iso paint I used a white "Decorative paint pen" by Rustoleum (from Lifestyle centre's craft section). I repeated all the the lines drawn. Quite happy with the result and the fact that they are weather proof!