
Everything just fell into place unbelievably well. It helped a lot not to bake a lot of stuff the day before. It took me years (and a broken oven) to get here, but wow, it makes a big difference. What I did bake (at a friends house) was the Earthquake Birthday cake...

This is an absolutely crazy cake. I initially planned to do something like this. But then realized it would be much easier to just incorporate this idea. Not having to ice around the side, yeah! I used what has become a go-to cake for me : Sweet Paul's go to chocolate cake. (he might pull his hair out if he sees what I've done to it.) It's basically a four layer brownie cake. I've added caramel and nutella in layers in between. The top got a layer of cocoa, cream and strawberry jam mix, some coffee chocolate broken in pieces and strewn over, and then some whipped cream, with thinned down caramel drizzled over. And lastly, for what was supposed to look like rocks, I added toasted marshmallows. I know, if you're a perfectionist (or on a diet) you might battle with this cake. But if you're willing to embrace imperfection at a six year old's paty (or have a cake braking in pieces) - this is great! I just added a Superman we already had, and some cartoon art on sosatie sticks. And some long candles, to avoid setting something alight.

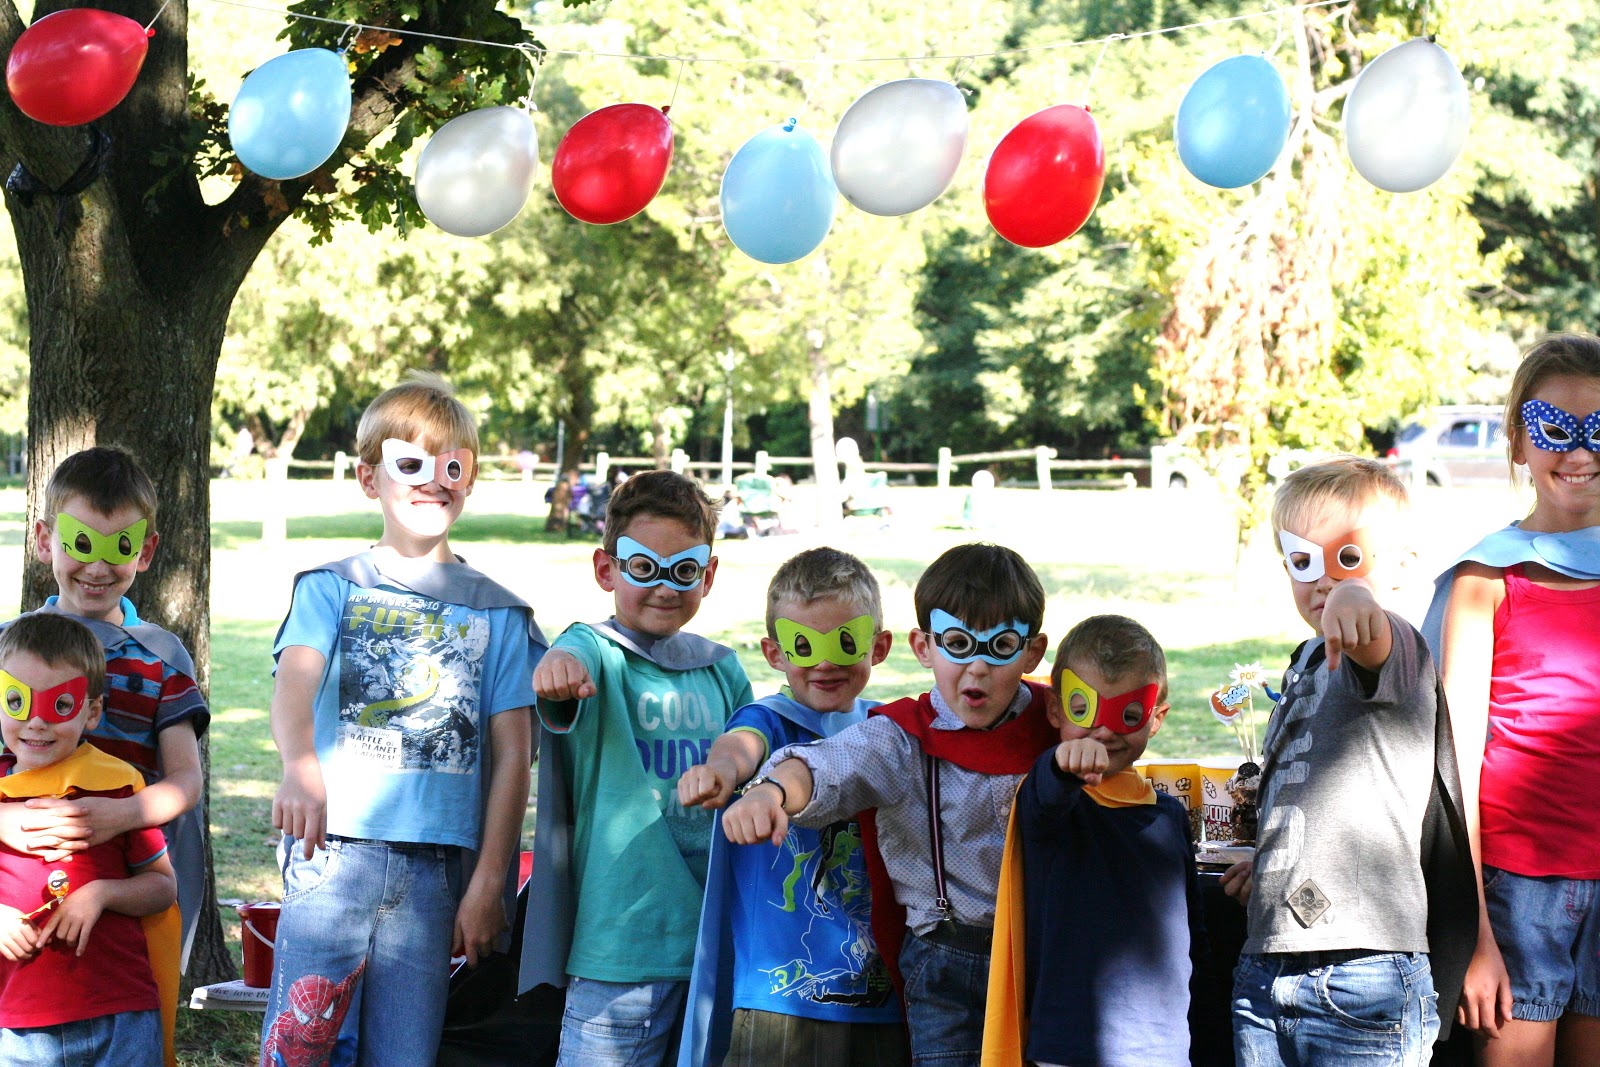
For the partypacks we got some red buckets (the colour scheme was red, light blue, yellow, grey and black) and printed out these free cards. (To add as thank-you notes, signed by Liam). Inside the buckets each kid received an initialed cape and a mask...

They were very easy to make no-sew capes. Pattern and instructions found here. I bought felt, but discovered it had a shiny side, so decided to make them shiny-side up! The glue I used (Non-tuluene contact adhesive- from Excitement store locally) dried almost instantly and promises to be waterproof. I also glued on the velcro as I couldn't find selfstick ones.
Oh yes!

This day totally rocked :- Perfect weather, lovely park (we had it on a Friday afternoon at Delta Park), and Liam surrounded by his best buddies, having so much fun.
(word-art was an iNSD freebie from Ali)


And now you're six!
Happy Birthday to my Super duper boy. Love you so so much!
Beautiful stunning party - and I am so going to make those capes!
ReplyDeleteThanks Cat! You won't believe how easy they are!
Delete(Ps: I got the fabric from Shamdor factory shop in Fourways, should you be interested to know.)
Love it! Glad my tutorial on the capes helped! Fabulous job on the party. :)
ReplyDeleteThanks Kyra, I'm still getting feedback from Moms that their kids are going everywhere with their capes :) It defnitely was the wow factor!
Delete